Getting Started
1) Download and install
Download the latest DMG from liltype.com. Open the DMG and drag liltype to your Applications folder.
liltype runs as a menu bar app — look for it in your menu bar after launching, not in the Dock.
Approving liltype in macOS Security Settings
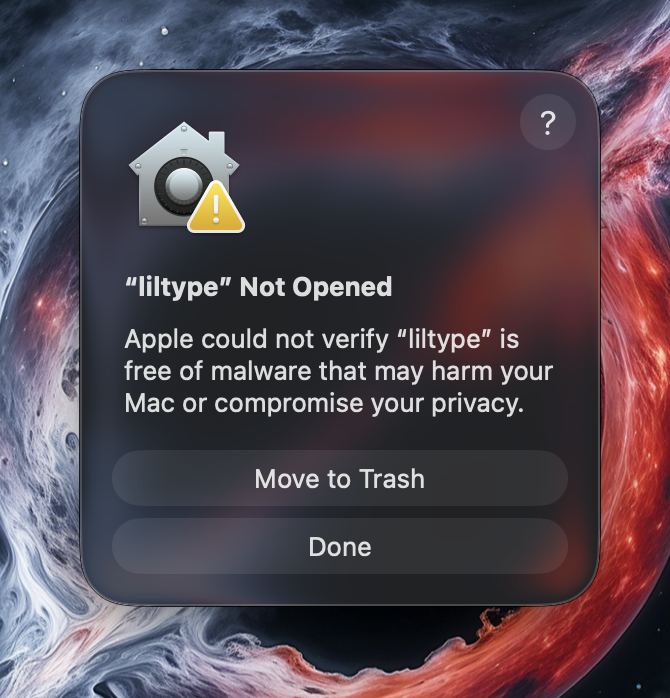
liltype is not yet signed with an Apple Developer certificate. macOS will block the app on first launch — this is expected. To allow it:
-
Try to open liltype — macOS will show a warning dialog:
-
Open System Settings → Privacy & Security
-
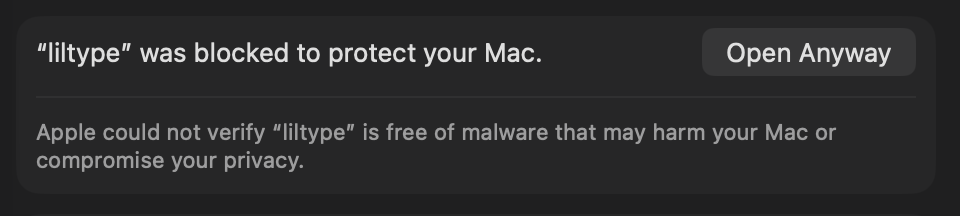
Scroll down to the Security section
-
You will see a message about liltype being blocked — click Open Anyway:
-
Confirm in the follow-up dialog
You may need to repeat this after updating to a new version.
2) First-launch permission setup wizard
On first launch, complete the permission wizard:
- Microphone Access (required — dictation will not work without this)
- Accessibility (optional; required for app context capture + auto-paste)
- Screen Recording / System Audio (optional; required for meeting capture and system audio recording)
- Notifications (optional; used for meeting prompts and focus-loss fallback)
If a permission is denied, reopen macOS System Settings from the in-app action buttons and retry.
3) Download your first offline model
Go to Settings → Model and download at least one model.
You cannot run offline dictation until one model is downloaded.
Choosing a model (trade-offs)
- Smaller model: faster, less accurate
- Larger model: slower, more accurate
- Start with a mid-size model, then tune based on your latency tolerance.
4) Verify microphone input
Go to Settings → System:
- choose your input device
- check level meter activity while speaking
- optionally enable fast Bluetooth mic start if you use wireless mics
5) Configure your hotkey
Go to Settings → General.
- Default hotkey: Ctrl+Shift+Space
- Dictation modes:
- Push to Hold (press-and-hold)
- Toggle (press once to start, once to stop)
- If you pick a conflicting hotkey, liltype warns you (for common conflicts like Spotlight/input source shortcuts).
6) First dictation (end-to-end)
- Focus any text field (Notes, Chat, editor, etc.)
- Trigger hotkey
- Speak
- Stop recording (release hotkey in Push to Hold mode, or press again in Toggle mode)
- liltype transcribes (offline by default)
- Result is copied to clipboard
- If auto-paste is enabled and Accessibility is granted, liltype inserts text into the focused app
If the focused app loses focus before transcription completes, liltype sends a notification with the result instead.
Press Escape any time during recording to cancel and discard.
7) Optional cloud mode setup (BYO keys)
Go to Settings → Model and select provider + key.
Cloud mode requires:
- provider API key saved in Keychain
- successful connection test
- cloud toggles enabled (where applicable)
- Plus or Pro subscription (cloud STT and rewrite are paid features)
For provider-specific setup, see API Keys (BYO Providers).
8) Optional meeting capture setup
Go to Settings → Meeting:
- Grant screen recording/system audio permission if not already done
- Configure detection behavior (ask / auto-start / notify only)
- Choose which apps to monitor (Zoom, Teams, FaceTime, WebEx, Discord, Slack)
- Configure mic and system audio inclusion
When a monitored app is detected, liltype will prompt or automatically start a meeting session.